
This article shows you how.
🪄 Step 1: Open the Ad You Want to Edit
From your project view, simply click on any ad you want to edit.
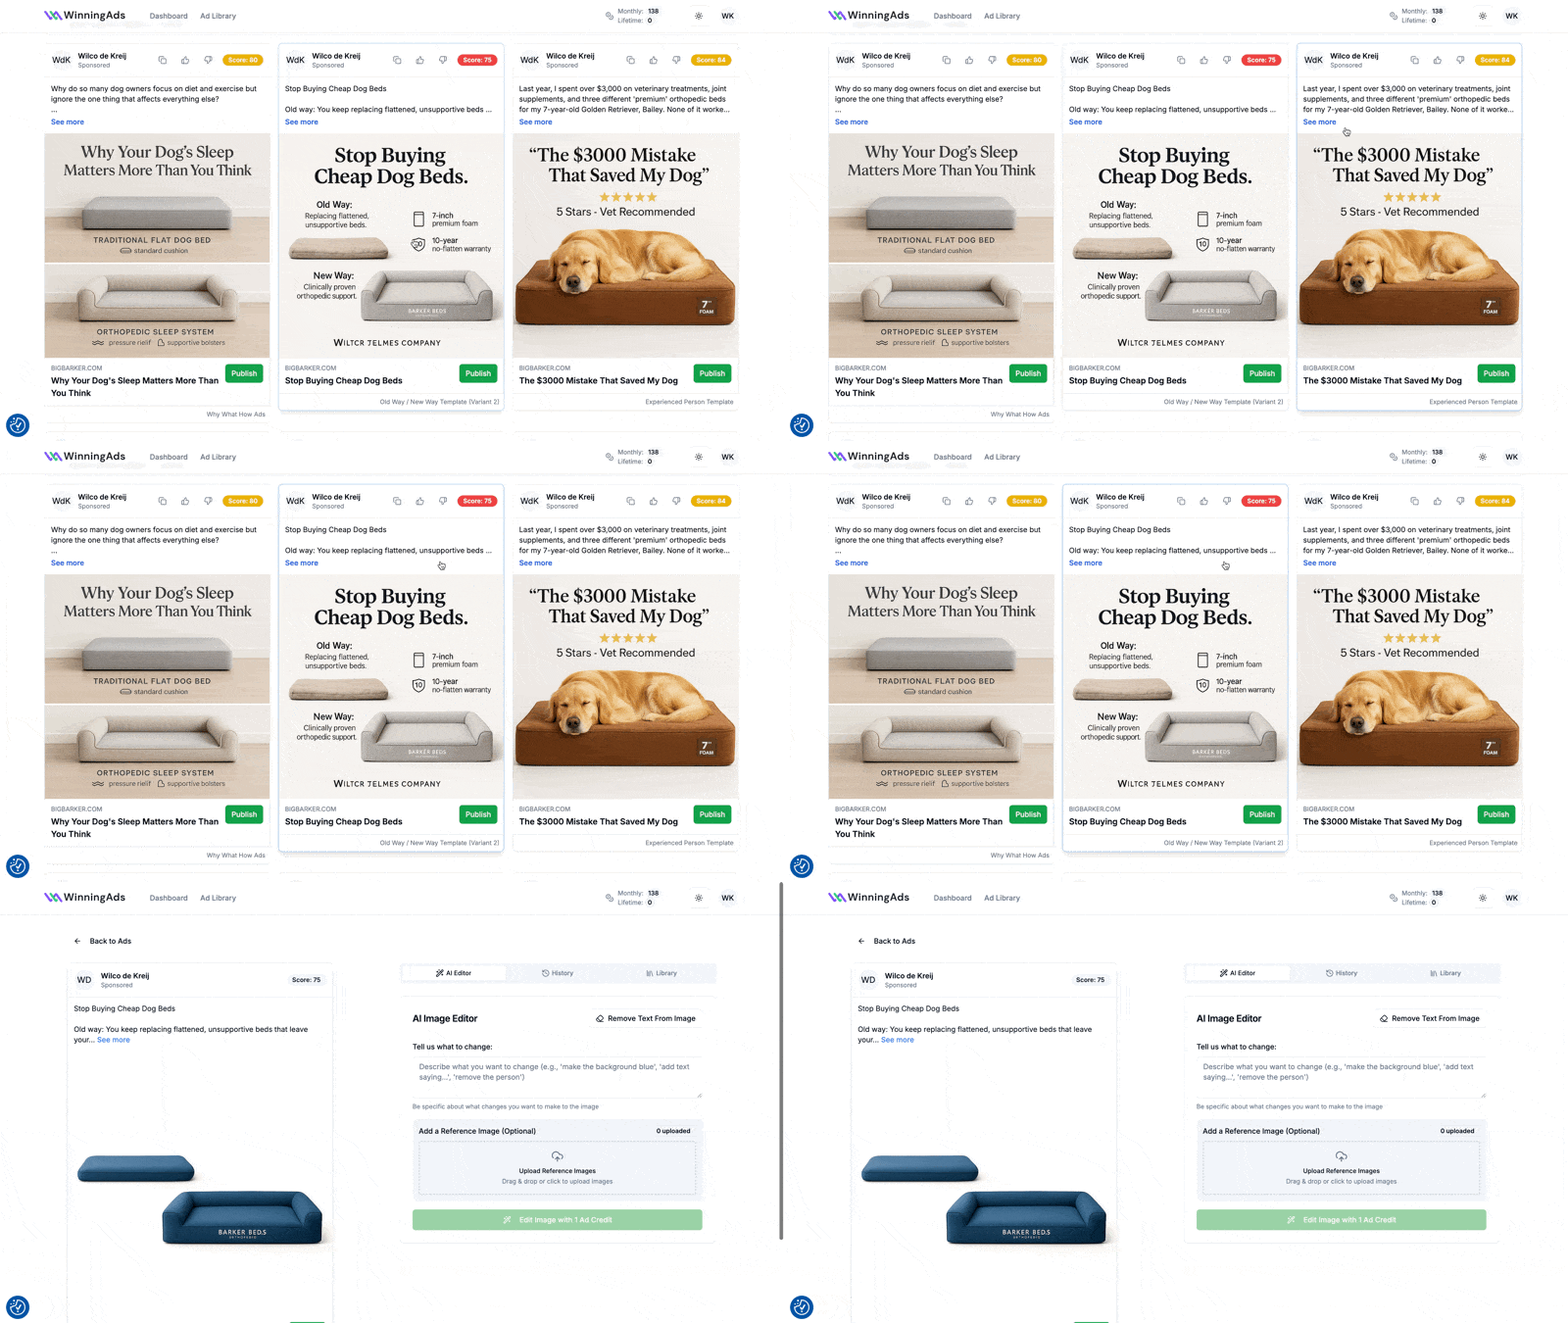
This will open up the full ad view where you can customize both the text (left side) and image (right side).
📝 Step 2: Edit the Text (Left Side)
To change the ad copy:
-
Click directly into the headline or primary text
-
Make your edits inline
-
Changes are saved automatically
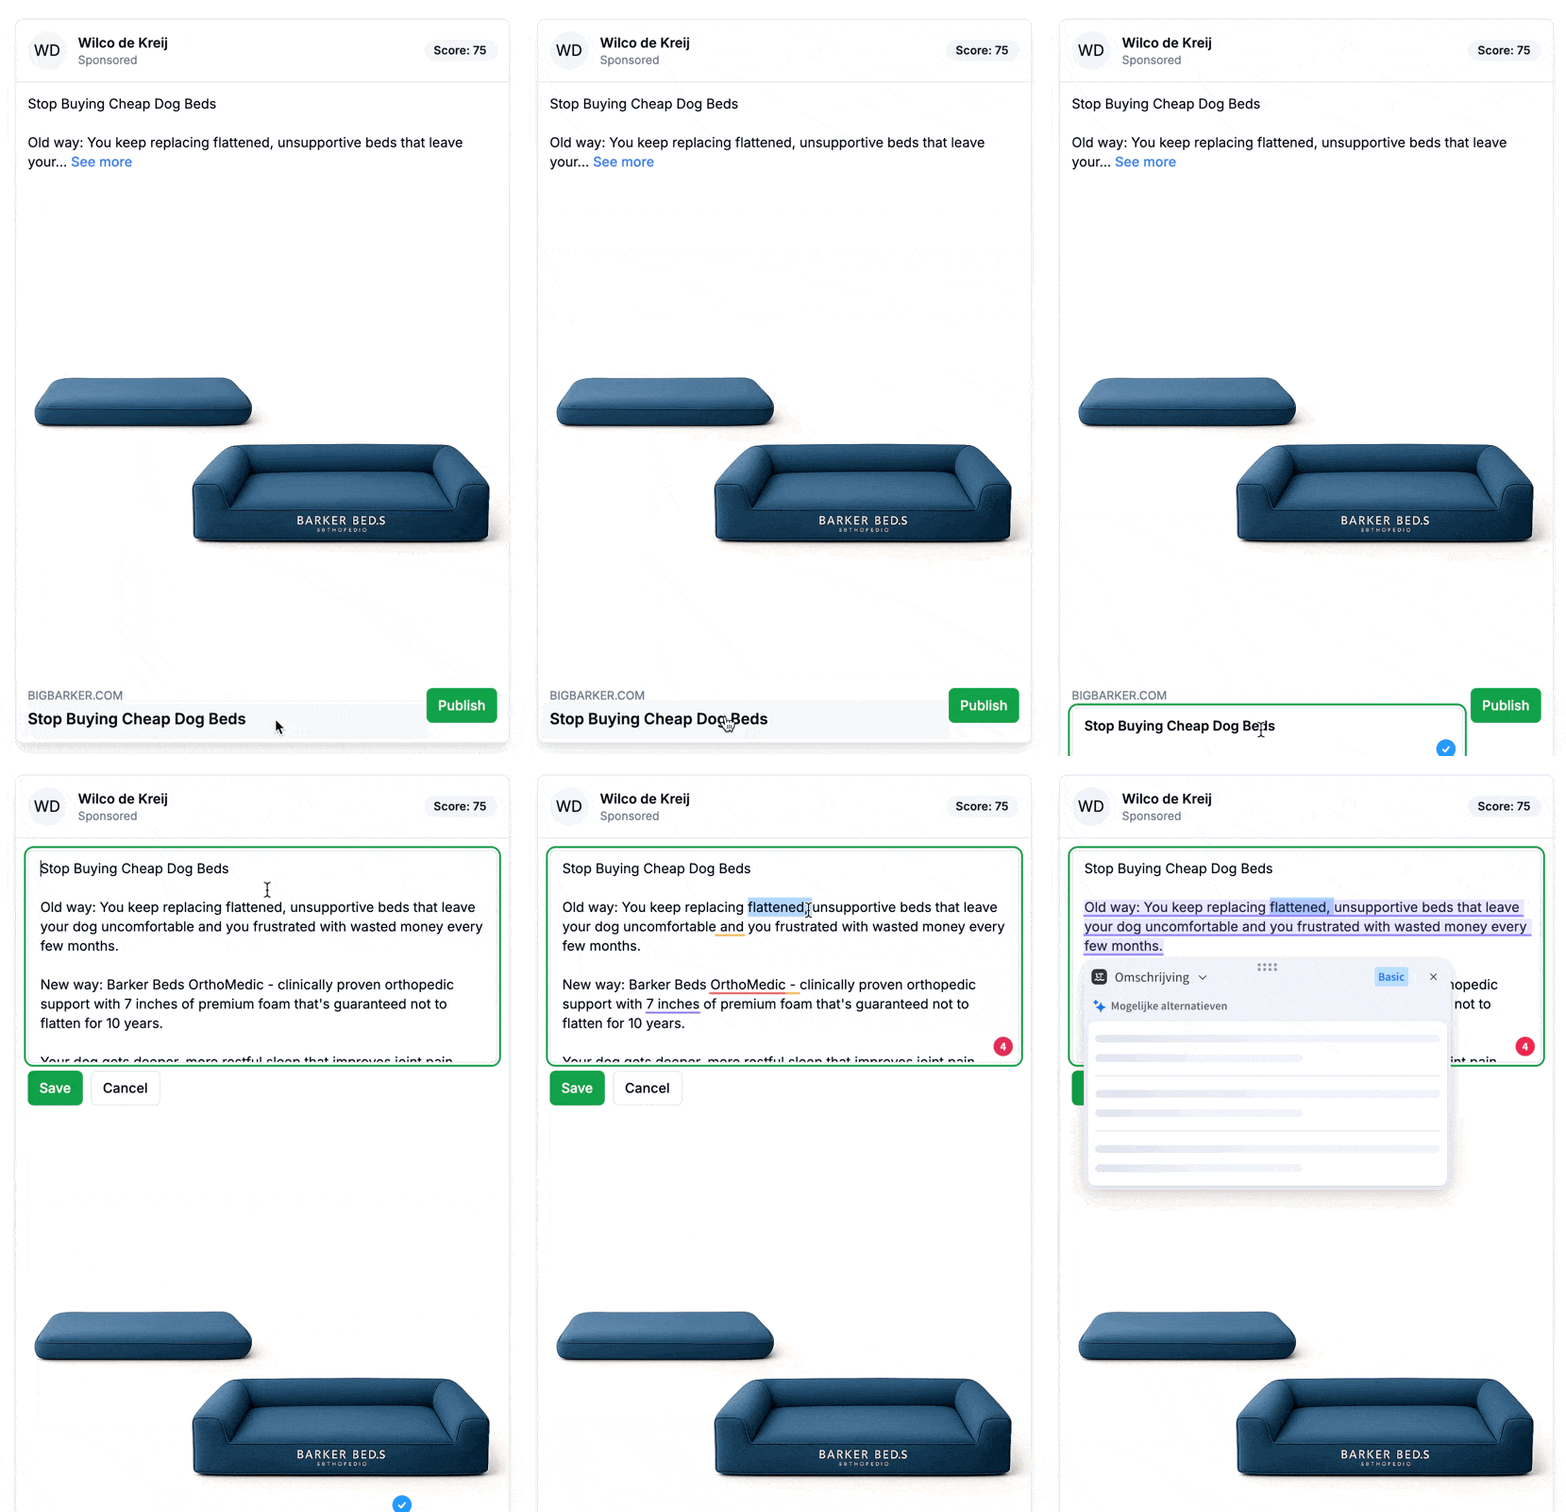
🖼️ Step 3: Replace or Modify the Image (Right Side)
On the right-hand side of the editor, you have two options:
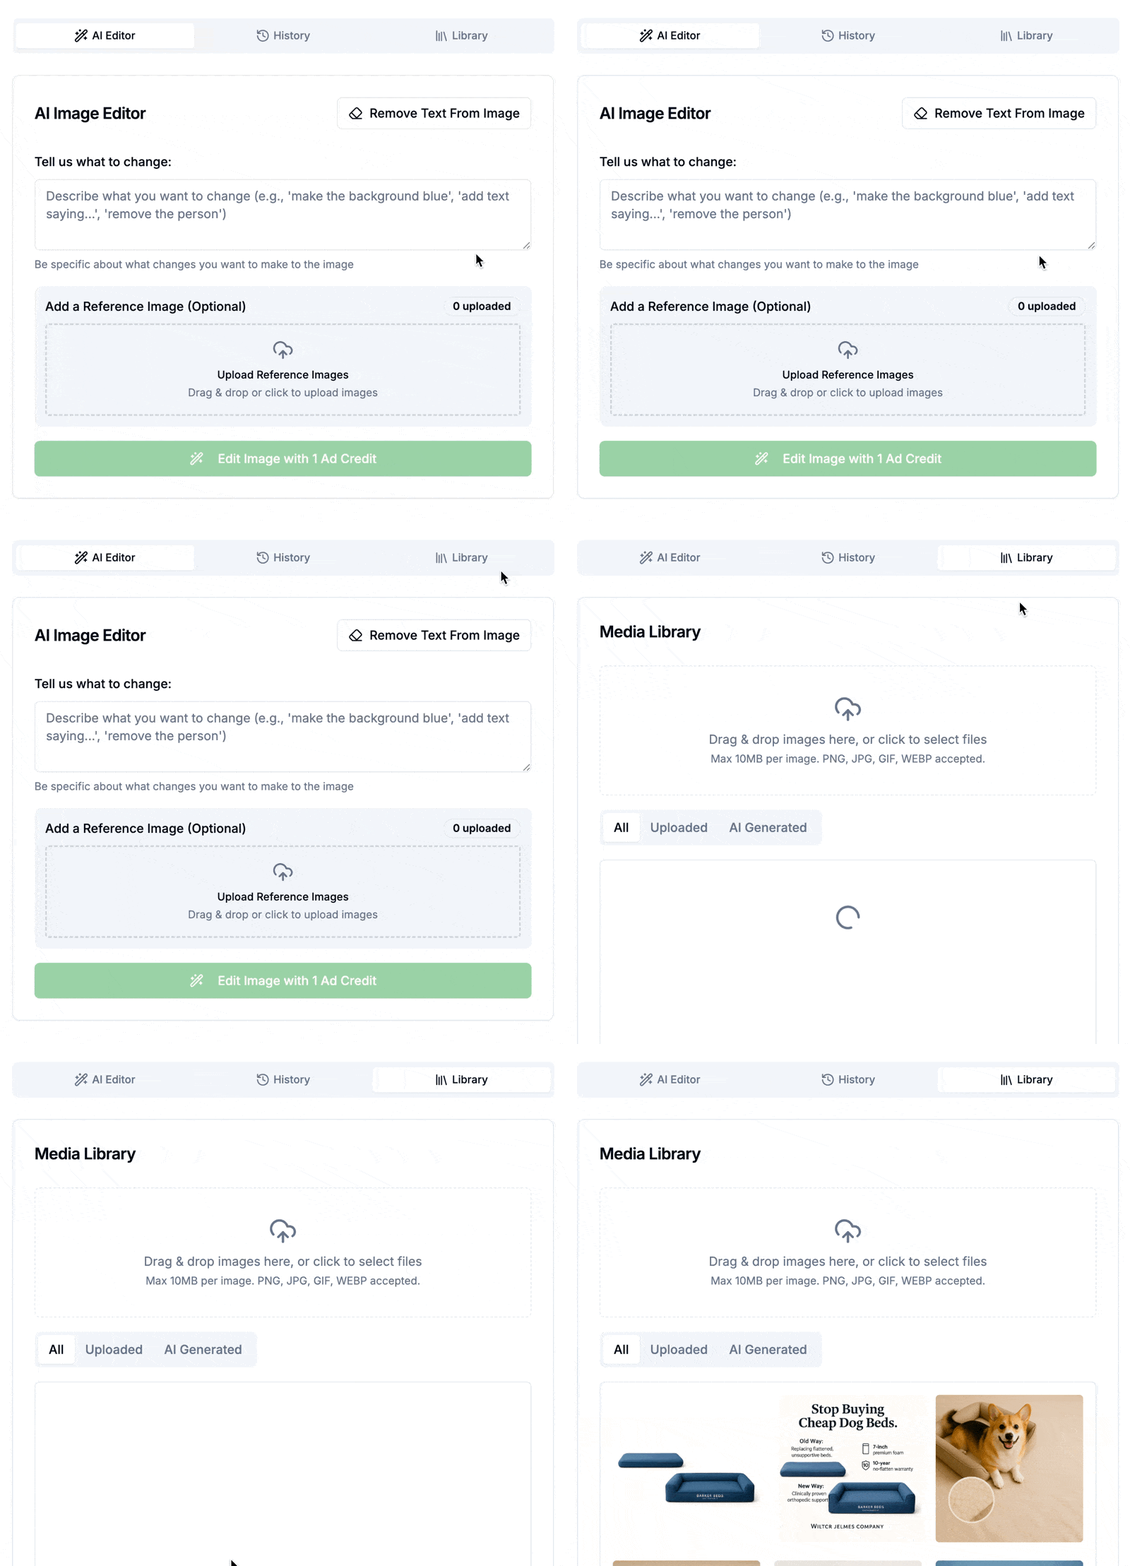
✅ Option 1: Upload Your Own Image
-
Click the “Library” button at the top
-
Upload or select an image to use in the ad
🤖 Option 2: Use the AI Image Editor
Want to modify the existing image? You can do that too.
-
Head over to the “AI Editor” section
-
Add a prompt describing what you want to change (e.g. “Add a happy dog on the bed”)
-
Optionally upload a reference image
-
Click “Generate” — this will use 1 credit
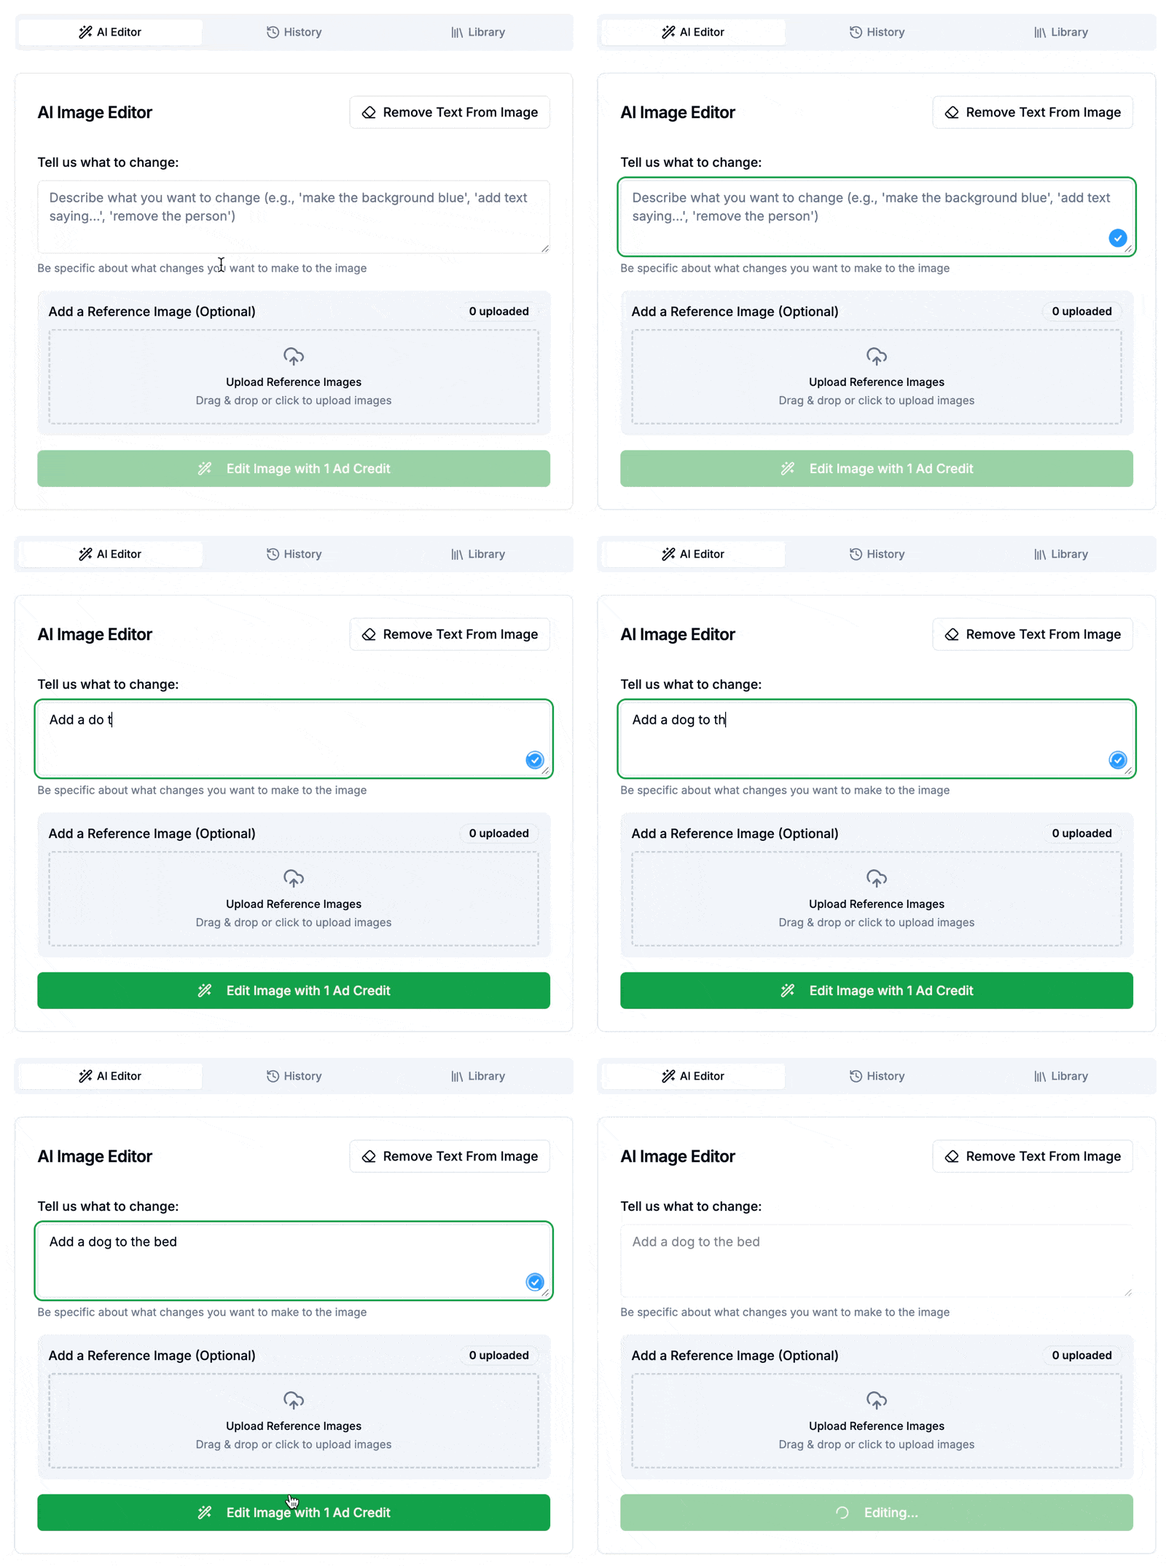
It’ll take a couple of minutes to process. You can leave the page while it works—your image will update automatically.
🕘 Step 4: Revert to Previous Versions (If Needed)
Didn’t like the change? You can easily undo it.
-
Click the “History” tab in the middle of the image editor
-
Browse all your previous image versions
-
Click “Use” next to the one you want to revert to
This makes it easy to experiment without fear—you can always go back.
✅ That’s It!
Editing ads is fast, intuitive, and flexible—so you can fine-tune your creatives before they ever hit Meta.